Case Study · Episode 15 · Screenshot-to-Shape-Layers
FROM SCREENSHOT TO SHAPE LAYERS: an infographic that builds itself
A stock four-step infographic screenshot goes in. A thirty-eight-layer After Effects composition comes out — every circle a real ellipse path, every keyframe eased, every layer named to a convention the animation code can find. No generated art, no image models, no plugins: Claude Code writes one ExtendScript file that builds the artwork and animates it, a throwaway browser preview catches the layout errors before After Effects ever opens, and three rounds of fixes take it from a crescent-shaped bug to a finished scaffold. Then the artist takes it somewhere the script never could.
The finished build · ten seconds, thirty-eight layers, one script — and the arc rings
the artist added afterwards. Plays here, in full.
Overview
The screenshot is a spec, not a mood
Every other episode on this site hands a reference to a model and asks for something that looks like it. This one does the opposite. The screenshot is read as measurements — diameters, spacing, hex values, type sizes — and those measurements become constants at the top of a script that draws real vector shapes. What comes back is not an approximation of the reference. It is a comp you can open, select, re-time and redesign, because every object in it is a native After Effects layer.
38Layers built
128Eased keyframes
9Named layers per step
3Rounds of fixes
0Layers drawn by hand
The Anatomy
Nine layers, four times over
The naming convention is not housekeeping — it is the interface. The build pass creates the layers; the animation pass finds them again. Get the names wrong and the second half of the script has nothing to talk to.
Fig. 1 — the split-circle badge as the script builds it, with the names it assigns.
Four nodes, nine layers each, plus a white background solid and a placeholder texture: thirty-eight layers.
The Pipeline
Step by step
01
The Brief
The prompt was not "recreate this image." It was a specification: comp settings, then the node structure enumerated part by part — outer badge, white ring, inner disc, stacked STEP text, pin line, pin dot, heading, body copy — with a diameter or a font size attached to each. Four hex values, left to right. A stagger range. A naming convention, stated with a reason: this matters because the animation code needs to reference them.
The technical requirements were the other half of the brief and did more work than the visual ones: wrap in an undo group, put every layout constant at the top as an editable variable, and build with real shape-layer content — ellipse paths, fills, strokes — not placeholder rectangles. That last clause is what separates a comp you can art-direct from a picture of one.
Spec, not vibes Constants at the topFrom the brief
Name every layer clearly and consistently, e.g.
              "Node1_OuterCircle", "Node1_InnerCircle", "Node1_PinLine" — this matters because the animation
              code needs to reference them.

Build layers using LayerCollection.addShape()/addText()
              with proper AE shape layer content (ellipse path, fill, stroke) — not just placeholder
              rectangles.
Fig. 2 — the two sentences that decided the architecture. Everything downstream
is a consequence of them.
02
The Script
One .jsx file, run from File › Scripts › Run Script File. It opens with
sixty-odd named constants — comp size, three concentric diameters, node spacing, the colour array, every
animation offset in seconds — and then never uses a magic number again. Node positions are computed from
the spacing so the row stays centred whether there are four steps or six.
Underneath sit the helpers that make the rest readable: hex() for colour conversion,
addEllipse() and addHalfDisc() for shape groups, makeText() for
consistent character styling, keys() for adding a whole keyframe run at once. The build pass
and the animation pass are separate loops — layers first, motion second — which is why the animation is
re-runnable against a comp that already exists.
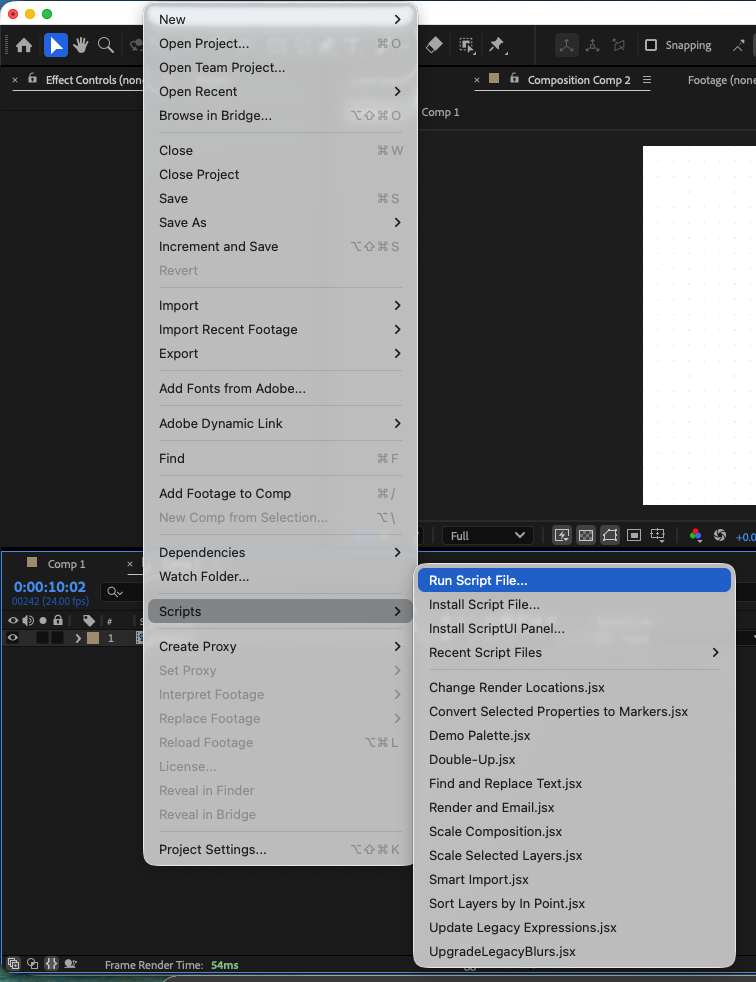
Fig. 3 — the entire user interface of this pipeline. One menu item, one file,
one undo group to take it all back.
03
The Preview Loop
Checking a layout change by launching After Effects is a slow way to find out a circle is 40 pixels too far left. So the script got a companion: a standalone HTML page that draws the same design in SVG, deriving node positions with the same formula as the .jsx. Open it in a browser, see the frame, adjust a constant.
It is a deliberately disposable artefact — it renders the final frame only, and its shadows are browser filters rather than After Effects' Drop Shadow, so it is never pixel-truth. What it is good at is catching the errors that are embarrassing rather than subtle: overlapping columns, text running off the canvas, a badge sitting too high. Those are most of them.
Browser-speed iteration Same formula, both files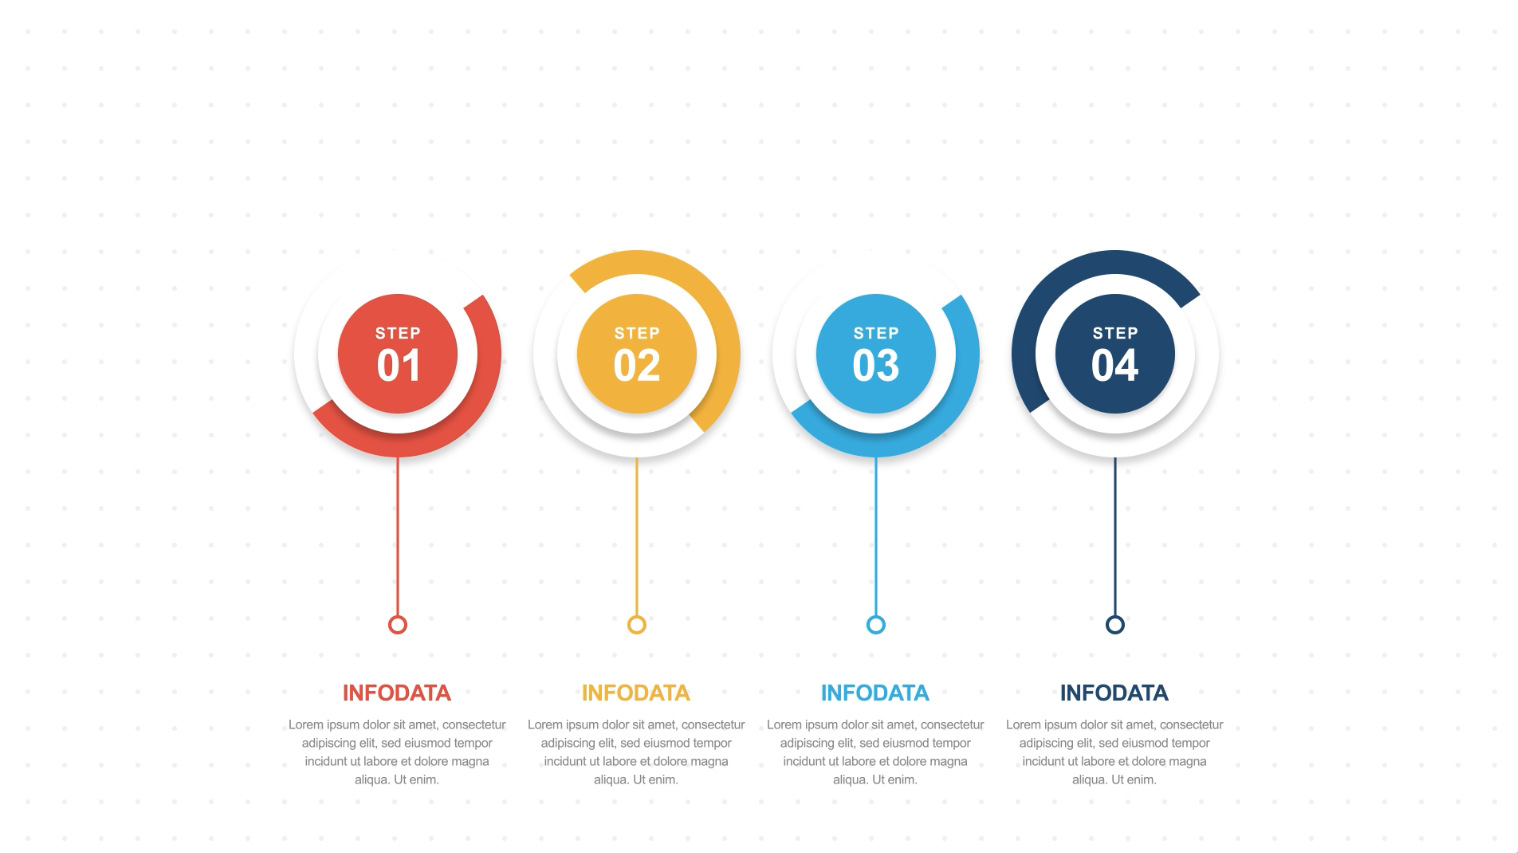
Fig. 4 — the frame the preview was chasing, as it finally rendered out of
After Effects.
04
The Fixes
Round one produced a moon. The brief had suggested approximating the reference's half-coloured badge as "a solid colour circle behind a smaller white circle offset slightly" — and taken literally, two discs of the same size offset from each other produce a crescent, not a split circle. The fix was to stop approximating: a real bezier semicircle, three vertices with kappa tangents, laid on a full white disc at the same radius and same centre. Same silhouette, split across a diameter.
Round two removed the connector bars. The reference chains its badges with a horizontal colour band, so the script reproduced the visible pieces of it — and they read as stray blocks, because in the reference that band is continuous and its white segments simply vanish into the white background. Reproducing a fragment of a system does not reproduce the system. Round three fixed scale: the reference's badges are nearly touching, about 0.9× the node spacing, and at the specified 160px they floated as islands.
Measure, don't approximate Read the image over the specFig. 5 — the round-one bug and its fix, side by side. Both are two shapes; only
one of them is a circle.
05
The Motion Audit
The most expensive bug in the build was invisible in a still frame and would have been easy to accept as
"fine." Keyframes created with setValueAtTime() arrive linear, and
setTemporalEaseAtKey() does not change a keyframe's interpolation type — it only sets the
ease handles. So every KeyframeEase in the script was being applied to a linear keyframe and
quietly doing nothing. The whole animation would have played dead flat while the code read as though it
were eased. One call to setInterpolationTypeAtKey(..., BEZIER, BEZIER) fixed it.
Two smaller ones followed. The overshoot keys were set at the same heavy influence as everything else,
and since a KeyframeEase has zero speed, each pop came to a dead stop at 112% before settling
— a wobble, not a bounce; dropping the middle key's influence to 18 lets it pass through the peak. And
every keyframe time is now snapped to the comp's frame grid, which mattered more than expected: this comp
runs at 24fps, where a 0.18-second stagger lands between frames.
The fix, in the ease helper
// Temporal eases are ignored on linear keys, and

              // setValueAtTime creates linear keys, so the

              // interpolation type has to be forced to Bezier

              // first or the motion comes out dead linear.


              prop.setInterpolationTypeAtKey(keyIndex,

                KeyframeInterpolationType.BEZIER,

                KeyframeInterpolationType.BEZIER);
Fig. 6 — three lines that decide whether 128 keyframes have any easing at all.
06
The Handoff
The script checks app.project.activeItem before creating anything, so pointing it at an
existing composition is a supported path rather than a workaround — it inherited this comp's 24fps and
ten-second duration and snapped its keyframes to that grid instead of the 30fps default it would have
created on its own.
And then the design left the script behind. The badges in the finished piece are not the split circles the .jsx builds: they are colour arcs that sweep continuously around each node for the full ten seconds, built by hand in After Effects on top of the generated scaffold. That is the honest shape of this workflow. The script did the deterministic work — thirty-eight layers named to a convention, geometry computed rather than nudged, keyframes eased identically across four nodes — and stopped exactly where taste begins.
Runs on an existing comp Scaffold, then craft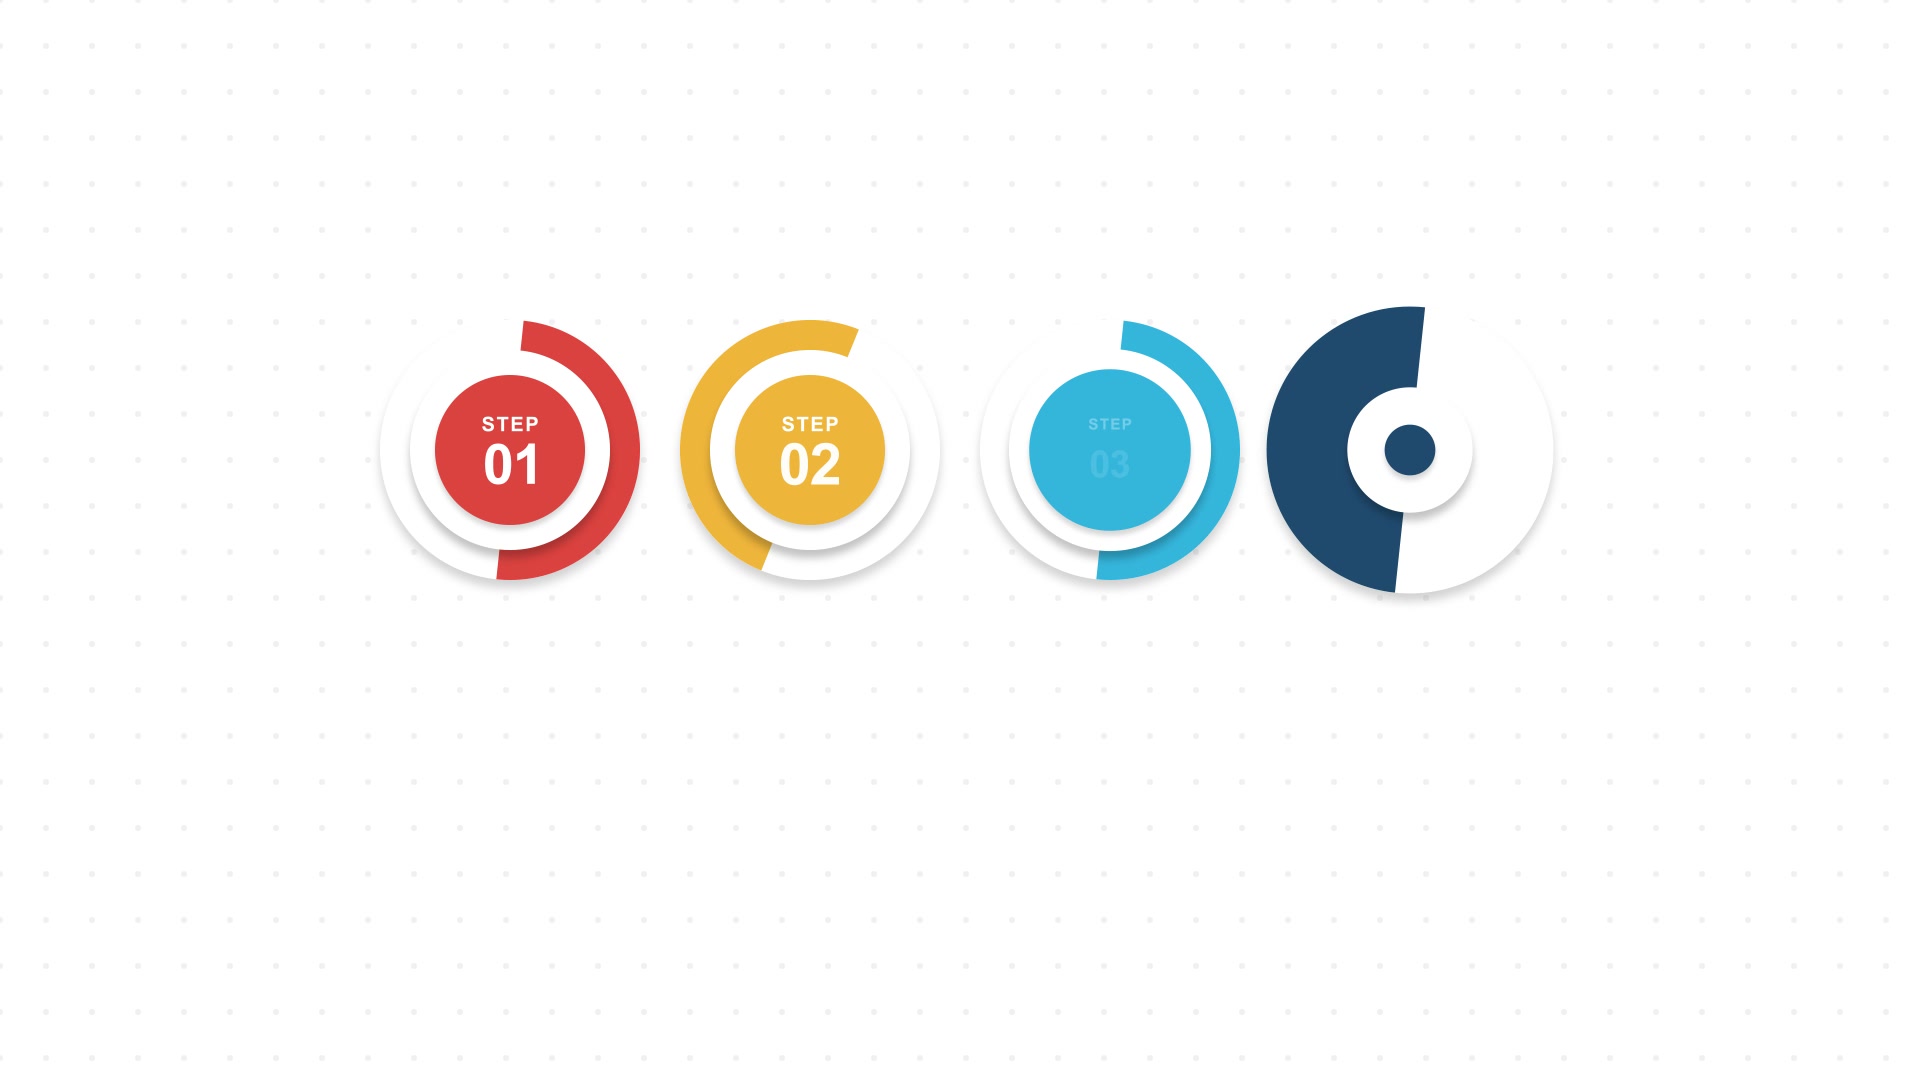
Fig. 7 — the hand-built arcs mid-sweep, riding on script-built badges. Neither
half of the picture could have made this frame alone.
The Build
What happens, and when
Every offset below is relative to its own node's start, so the whole cascade re-times from a single constant. Nodes begin 0.18s apart — at 24fps, frames 5, 9, 13 and 18.
| Offset | Element | Property | Motion | Dur. |
|---|---|---|---|---|
| +0.00 | Outer badge | Scale | 0 → 112 → 100, overshoot passes through | 0.50s |
| +0.06 | White ring | Scale | Same pop, offset by a frame and a half | 0.50s |
| +0.12 | Inner disc | Scale | Same again — the trio reads as one object | 0.50s |
| +0.35 | STEP · number | Opacity + Scale | Fade with a 60 → 108 → 100 pop | 0.35s |
| +0.55 | Pin line | Trim End | Draws downward, 0 → 100% | 0.35s |
| +0.85 | Pin dot | Scale | Hardest pop of the four — 132% peak | 0.30s |
| +1.00 | INFODATA | Opacity + Position | Fades in rising 18px into place | 0.40s |
| +1.12 | Body copy | Opacity + Position | Follows the heading by three frames | 0.40s |
The re-timing argument — because every value above is a named
constant and every offset is relative, doubling the stagger stretches the sequence without desynchronising
anything inside a node. That is the whole reason to build motion in code.
The Frames
The cascade, three frames deep
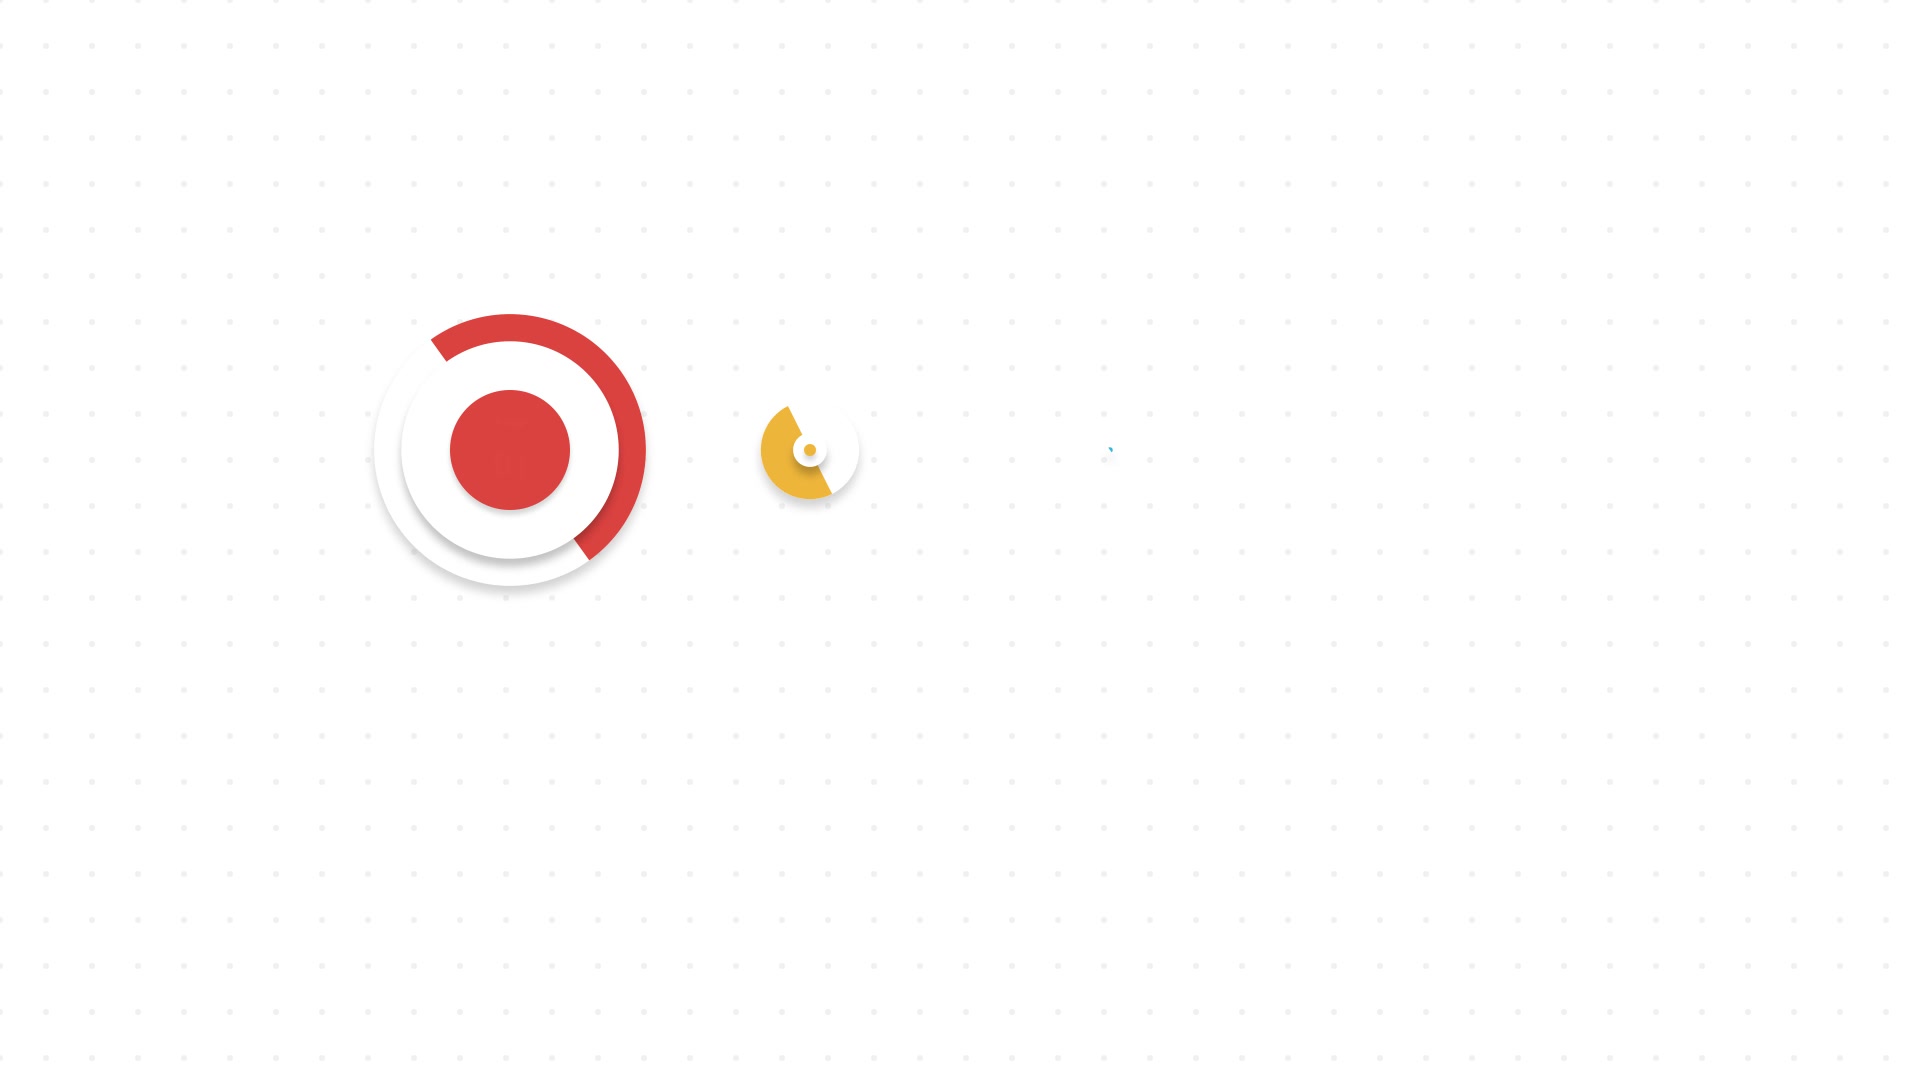
Straight out of the render — the stagger doing its job, left to right, each node a fifth of a second behind the one before it.
1.0s · nodes 1–2 arriving
1.9s · the pins draw
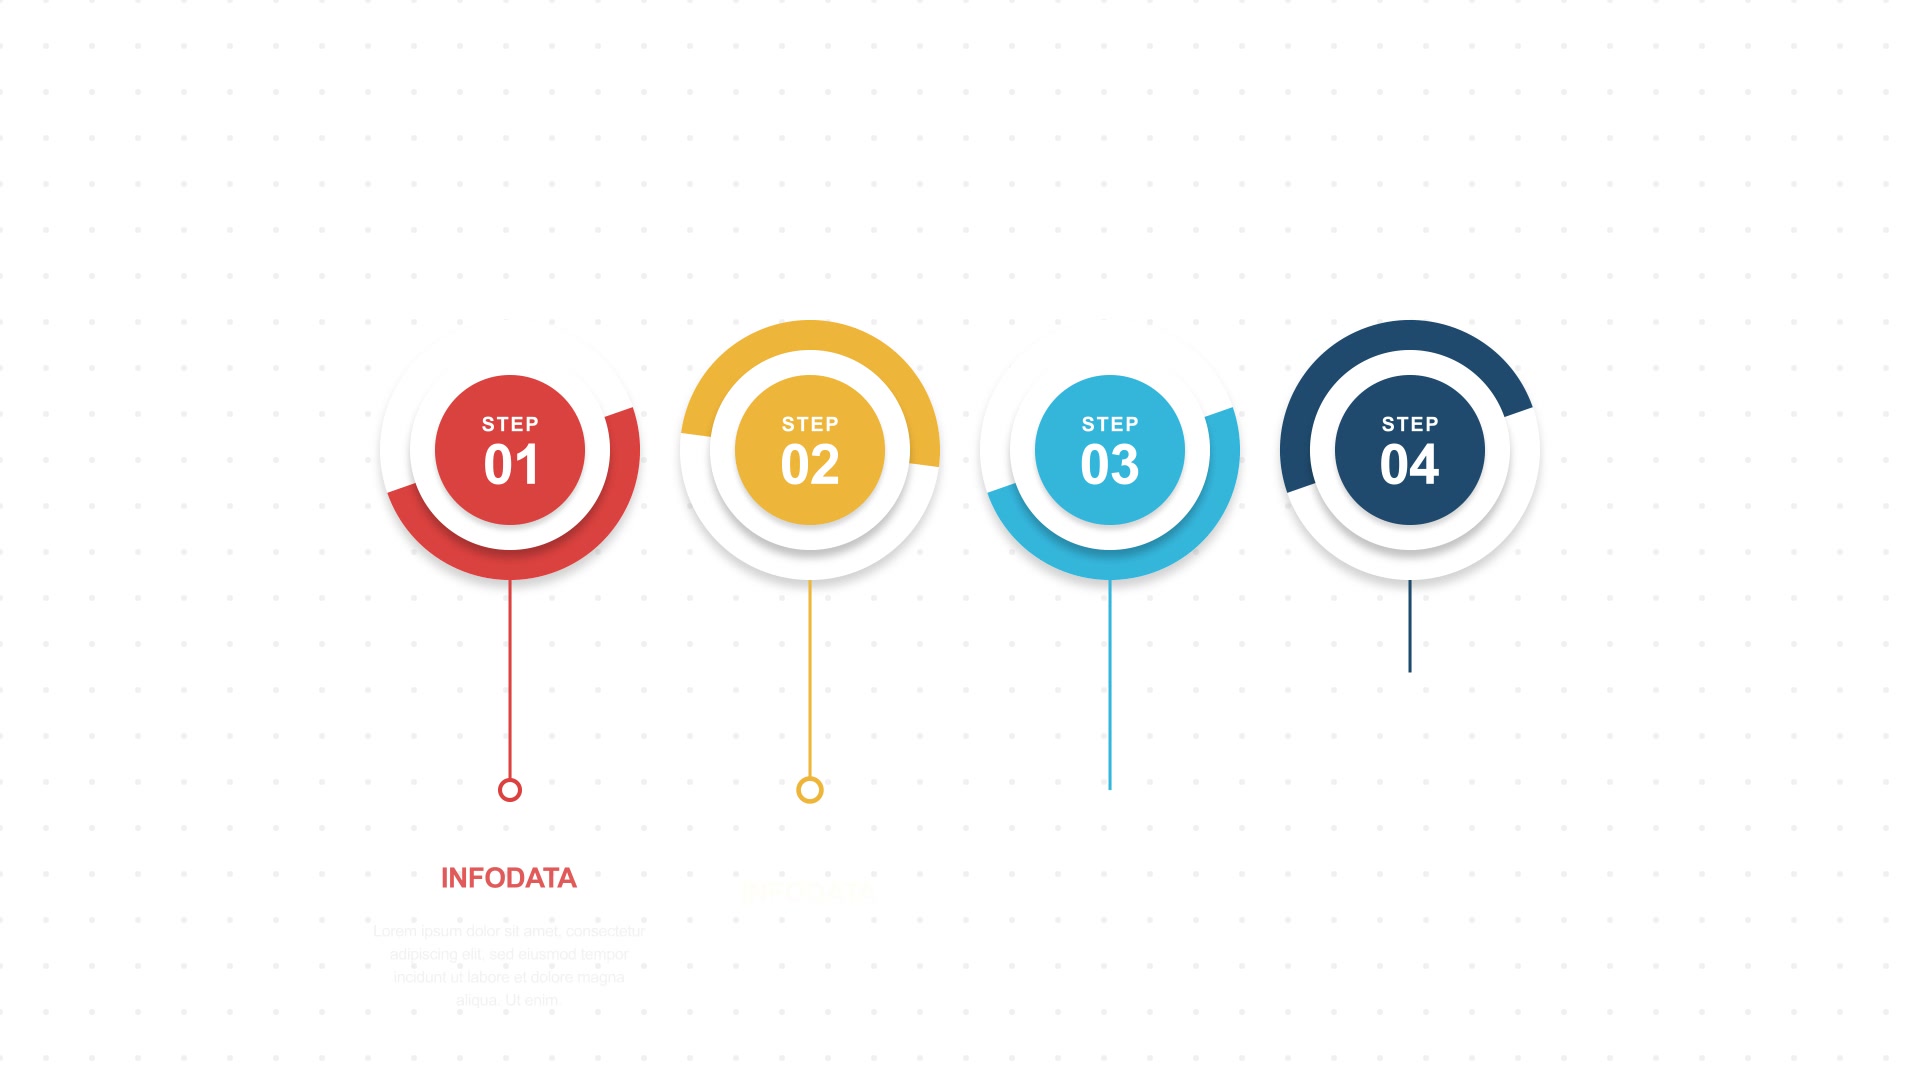
3.2s · type settles
Worth pausing on — the pin lines are not scaled rectangles.
Each is a two-point path with a Trim Paths operator, so the line genuinely draws rather than stretching, and
its stroke weight stays constant while it does.
Behind the Scenes
What we learned (and what nearly broke)
The honest notes — six lessons this build paid for.
Eased keyframes that weren't
The script set a KeyframeEase on all 128
keys and none of them eased. setTemporalEaseAtKey writes the handles but leaves the keyframe
linear; you also need setInterpolationTypeAtKey. Nothing errors, nothing looks broken in the
timeline — the motion is just flat. Check the graph editor, not the code.
Two circles are not a split circle
Offsetting a second same-size disc leaves a crescent, and the union isn't even round any more — it only passes because white-on-white hides the overhang. A half-disc is a half-disc: three vertices, kappa tangents, same centre, same radius.
The overshoot that stalled
Every key at influence 70 sounds consistent and looks
wrong. KeyframeEase speed is zero, so a heavily-influenced middle key brings the bounce to a
complete halt at its peak. Overshoot keys want low influence — they are a place the value passes
through, not a place it arrives.
Ask the comp for its frame rate
The default assumption was 30fps; the comp was 24.
A 0.18-second stagger lands at frame 4.32 — between frames — and the cascade goes subtly uneven. Reading
comp.frameRate and rounding every keyframe time to that grid costs one helper function.
Measure the reference twice
The written brief said 160px badges with white inner circles and coloured text. The image said badges nearly touching at roughly 260px, with filled coloured inner circles and white text. When the spec and the reference disagree, the reference is the one that gets published.
Don't reproduce a fragment of a system
The connector bars looked like debris because they were the visible remnant of a continuous band whose other segments happened to be white on white. Either build the whole system or leave it out; half of a coherent idea is not a smaller coherent idea.
Toolbox
Everything used, and what it did

Claude Code
Wrote the builder, the preview, the audit — and this page
Wrote the builder, the preview, the audit — and this page

After Effects
Ran the script, hosted the comp, rendered the ten seconds
Ran the script, hosted the comp, rendered the ten seconds

ExtendScript
Shape groups, text documents, Trim Paths, keyframe eases
Shape groups, text documents, Trim Paths, keyframe eases

HTML + SVG preview
Disposable browser page for layout checks between runs
Disposable browser page for layout checks between runs

FFmpeg
Contact sheets and figure frames pulled from the render
Contact sheets and figure frames pulled from the render
The artist
The arc rings, and every decision the script couldn't make
The arc rings, and every decision the script couldn't make